

WPC Fencing for Coastal Areas: A Wind-Ready Installation Guide
2026-10-23
WPC Fencing for Coastal Areas A Wind-Ready Installation Guide
A finished coastal fence can look sound in a photograph while the connection most exposed to salt sits out of sight. Photograph that connection during the build. Pair the image with the base detail and the fitting schedule, so a future installer can identify what was actually fixed. Sincere publishes an assembly sequence for its base-mounted system; the project team still has to resolve wind and ground conditions for the address.
Read the Exposure Before Choosing a Fence
Start at the boundary, before delivery. Number the fence runs and note the open-water face, shelter from adjacent buildings and any place where runoff pools. A single standard post detail may be unsuitable across all of those positions; the drawing should make the differences visible.
What Salt Can Reach Behind the Boards
The Sincere outdoor WPC fence panel uses an interlocking system. Request its current section drawing, and hold an uncut board beside it. Verify the walls, ribs and channel contact before looking at the color. For the metal, make a separate parts list from the cap down to the anchor. A rust mark that appears on a board may have started at a washer hidden above it.
A Privacy Change Can Alter the Wind Case
An elevation showing only fence height misses a design input. Draw the real spaces between boards, then add the gate, corner and exposed end. If those spaces are reduced later, the designer should review the final elevation before the post order is released. A return beyond a building may see a different exposure from a run tucked beside its wall.
Compare Quotations as Complete Systems
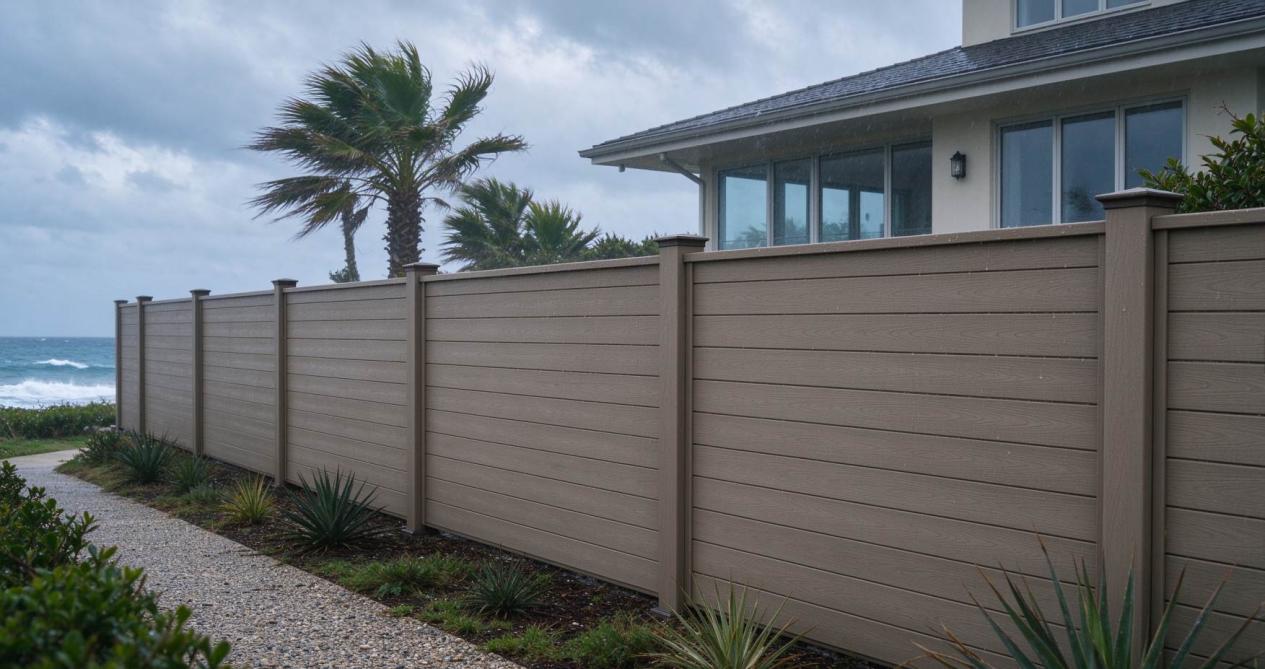
Coastal Taupe WPC Privacy Fencing
Send every supplier the same numbered site plan. One bid may assume a new footing while another assumes anchors in existing paving. Put the board, post, base, anchor, trims and approved bay widths on the return schedule before comparing price per metre.
Check the Profile and the Bay Together
Set out a trial bay with the actual delivered components. Match the lower and upper strips, angle pieces, buckles, cap, post and base to their drawing. Measure the board section at a cut end. A visually similar substitute may sit differently in the channel. If the quotation includes a load test, put its component list alongside the trial bay; a result for a different post or base does not settle this connection.
Approve the color range from physical outdoor samples and keep batch labels until the layout is accepted. The board-to-post drawing should also show where temperature movement is allowed. Measure that space on the trial bay; a hard adhesive or a screw through the board end would remove it.
Data to Put Beside Each Bid
Record the exposure and final board spacing, then put a component name beside each connection from board to ground. The table is a short request list for comparing bids; it does not replace a site-specific drawing.
|
Item to verify |
Why it matters on an exposed site |
|---|---|
|
Panel profile and tested span |
Limits bending between supports |
|
Wind design and fixing details |
Checks the complete fence assembly |
|
UV and moisture test data |
Supports long-term appearance decisions |
|
Post, bracket and fastener materials |
Addresses salt-related corrosion |
|
Expansion gaps and coastal warranty |
Prevents binding and clarifies coverage |
Follow the Post Load Into the Ground

WPC fencing at a seaside terrace restaurant
Label the straight runs and draw the gate as its own opening. Then annotate what lies under each proposed post: an existing slab, a planned footing, natural soil or the top of a wall. Paving is only a surface finish. Lift a sample or review the slab record where necessary before committing to a drilled base.
Use the Actual Wind and Support Conditions
The designer needs local wind criteria, the actual board spacing, fence height and the exposure of each run. The connection drawing should then identify posts, bases and anchors against those conditions. At an existing slab, put the hole marks on a photograph that includes a tape measure, slab edge and construction joint. This makes a proposed anchor position reviewable before anyone drills.
For a wall-top fence, supply the wall drawing and condition survey for review of the added fence load. For sand or recent fill, provide what is known about the ground before selecting a footing. A larger hole full of concrete does not answer whether the ground and connection can resist overturning. Keep the approved detail with the installation record.
Schedule the Hidden Metal Parts
The hardware schedule should be readable from the visible screw down to the buried anchor. List the bracket and washer too; they are easy to miss once the boards cover them. Have the specifier note the material, coating, cut-edge treatment and any isolation needed where different metals touch. If only the screw has a coastal specification, the bill of materials is unfinished.
Assembly Order for the Base-Mounted Fence

Modern Coastal Charcoal WPC Privacy Fencing
Sincere’s assembly instructions cover a base fixed to hardened ground with expansion screws. Their sequence is useful on site; anchor size, embedment and capacity still come from the approved connection detail. Stop for a revised detail if the drilling position meets a slab edge, joint or damaged patch.
Set Out, Drill and Fix the Posts
Stake the two ends of a run, its corners and the gate before dividing the intermediate bays. Check for services and transfer each base footprint from the approved drawing onto the actual support. An anchor manufacturer’s hole preparation matters as much as the drilling diameter. At the lowest post, pour a little water along the proposed line; if it collects behind a base, resolve drainage before fixing metal.
After the approved anchors secure each base, attach the post and sight along the channels. Measure at both ends of the post rather than trusting one level reading: a channel that narrows near the cap can pinch the final board. Hang or mock up the gate early enough to correct the hinge line. Take close photographs of the exposed fasteners, with the post number in the frame.
Fit Boards Without Trapping Movement
Seat the angle piece in the groove of the lower pressure strip and fix that strip. Feed boards through the post channels in the supplied order. If partition buckles are included, place each in a convex board groove before the following partition board. Complete the bay with the upper strip, edge band and caps. When a board jams, measure between channels and check its profile instead of striking the edge with a hammer.
Hold the caps until the measured board-end space and bottom drainage agree with the section drawing. Keep the lowest board clear of wet soil and trapped runoff as detailed for the job. Before handover, record these checks:
Post bases and anchors match the approved positions and remain accessible for inspection.
The supplied strips, buckles, edges and caps match the profile drawing.
Board ends have the movement space specified for that system.
Runoff can leave the base and the lower board has its designed clearance.
The gate works without rubbing and the final post alignment is recorded.
Inspection After Handover and Storms
Use the cleaner specified for the installed finish. Clear leaves from the base and the bottom gap, especially after wind-driven rain. Compare gate alignment and the end posts with the photographs made at handover. A lifted plate calls for a connection inspection; a loose board calls for a channel check. Find the metal source of any rust-colored streak before treating the stain.
Rinse fence panels and hidden hardware with fresh water periodically to remove accumulated salt deposits, especially after storm surges or salt‑laden wind events. Keep bottom drainage gaps free of sand, soil and debris. For replacements, use the installed profile reference from Sincere’s outdoor WPC range.
What to Request from Foshan Sincere
Foshan Sincere Building Materials Co., Ltd. supplies building-finish products. Include a numbered site sketch, substrate description and local wind requirement when using the company contact form. Request a drawing that identifies the exact sample and components proposed for that job, along with packing information for the shipment.
Conclusion
File the approved detail with the parts schedule and the photographs taken before the channels were closed. Add the cleaning guidance to the same handover pack. Those records make a later stain, shifted post or loose fitting traceable to a known component and support.
FAQs
Use these answers with the approved system drawing and the conditions of the specific site.
Is WPC fencing suitable for homes near the sea?
It can be used where the complete board, post, fixing and foundation assembly is selected for the site’s wind and salt exposure. The WPC face alone does not establish suitability.
What is the best fence design for high winds?
Use the board arrangement shown on the approved design, with post and anchor capacity checked for that arrangement. An open infill and a solid privacy bay make different demands on the support.
How far apart should WPC fence posts be?
There is no useful site-wide number without a named profile and support detail. Give the designer the proposed height, board layout, post and anchor system, plus the local wind basis; use the bay dimension shown on the resulting drawing.
Do coastal WPC fences need special screws?
Specify screws, brackets, washers, plates and anchors as one connection. Check the concealed pieces against the same salt exposure used for the visible hardware.
Can WPC fencing be installed on an existing seawall?
Only after the wall and proposed anchor locations have been assessed for the added fence load. Surface appearance cannot show the condition or capacity of concealed coastal concrete.


